Powered By Blogger

Thursday 13 June 2013

Ladies,Gentlemen. It's been an Honour...


3rd year Honours Project
Ian M Banks Culture Novel Book covers.

 I have always been a fan Ian Banks' work, Particularly his science fiction books and thought it would be interesting to illustrate pieces of "genre" fiction without resorting to the stereotypical imagery associated with, in this case the science fiction genre (spaceships,planets,aliens etc).
Having read most of Banks'  "Culture" series I thought that would put me in a good position when it came to designing a series of covers.This was true to a certain extent,though sometimes when illustrating a subject,the less you know the better. I found that a single phrase is more helpful than 500 pages of description.


One of the main characters in this
story is a Dyslexic teenager hence the
slightly run together title and the mis-copying
on the paper plane.


Reading just the dust jacket can help
sometimes,but not always,often focusing on
one aspect of the story,which does not help
when one is trying to give the potential reader
a visual clue to the books entire contents.


All of my images were taken
straight from my sketchbook,
except this one which was a purely
digital composition,drawing this
many perfect circles is beyond most people,I find.


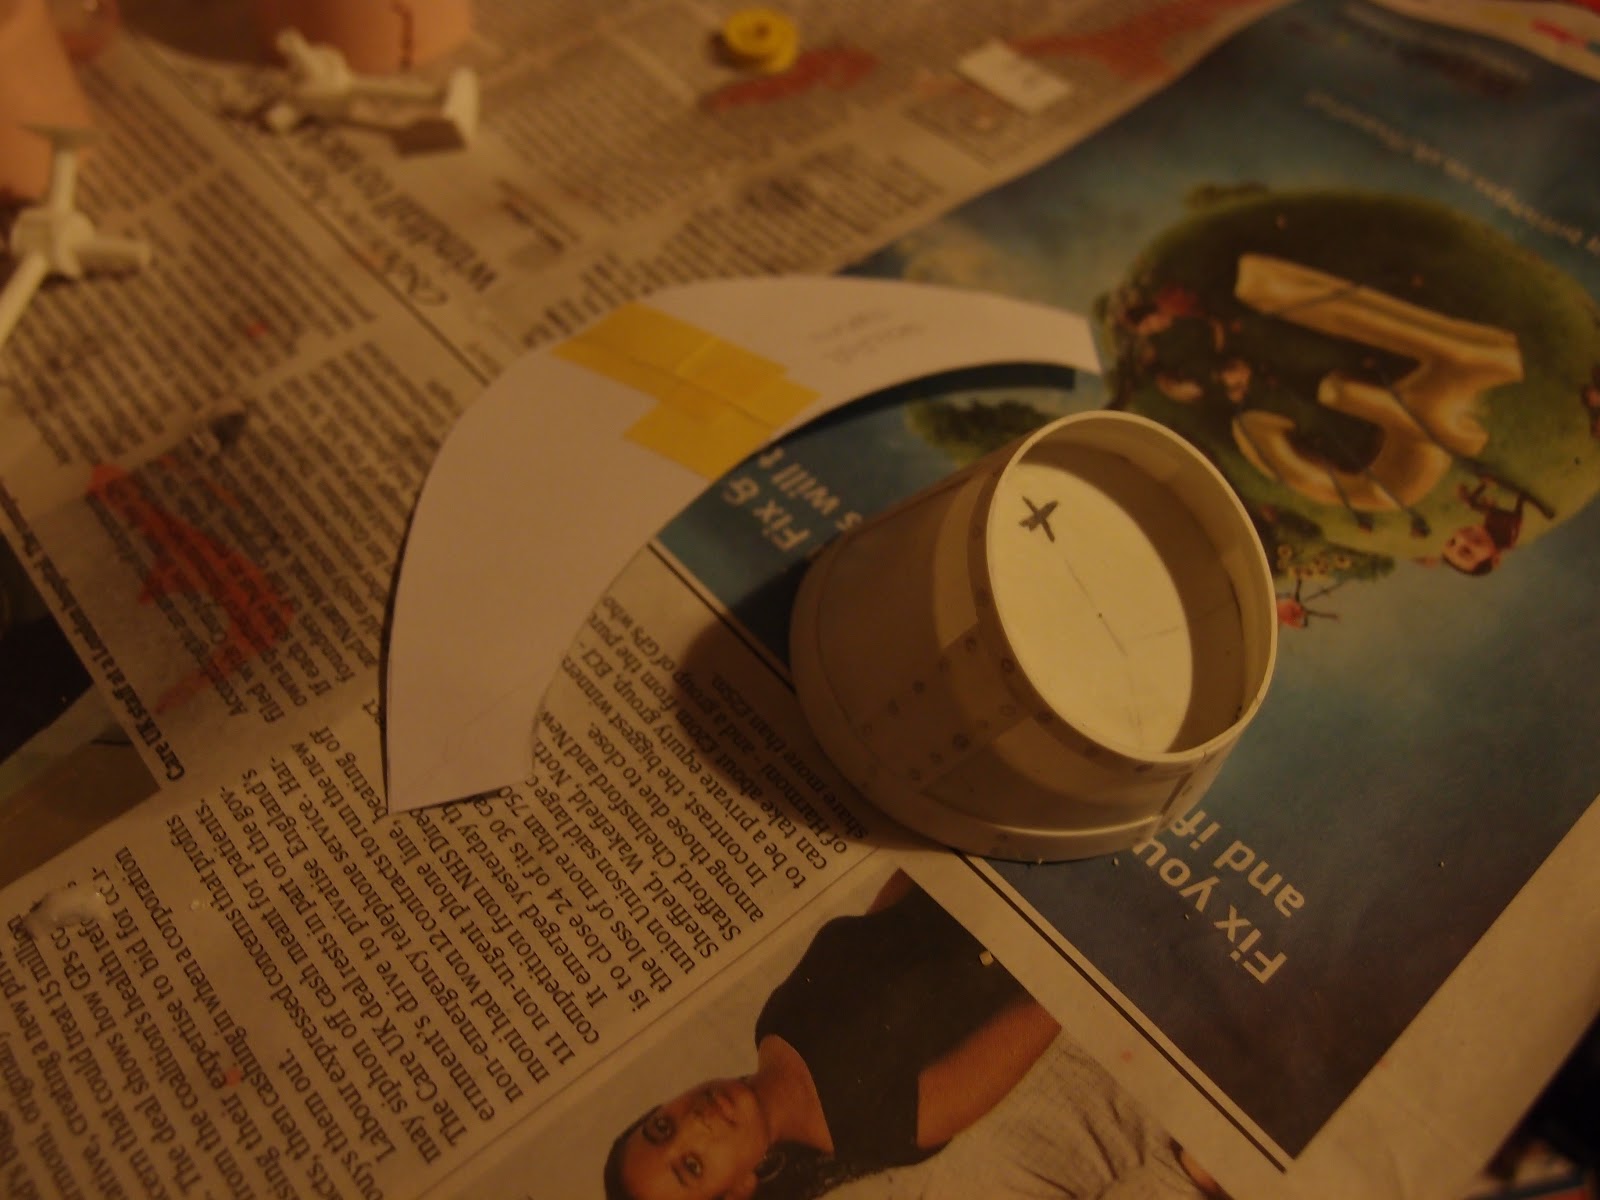
My sketchbook work is typically small in size
and so needs to be scanned at a relatively
high resolution of 600dpi (dots per inch).
It is then transferred to Adobe Illustrator
software to be vectorised,coloured etc.
This has the effect of making my work
appear more graphic than illustrated
good thing or bad thing?


This is probably my favourite
cover. The story concerns a
particularly brutal regime that
decides its leaders based on what
seems similar to the game RISK
but with many more bells and
whistles,and very brutal forfiets
if one loses.
Hence the slash of black and the
eviscerated dice image.


The Denouement to this story
takes place on a wintry forested
planet,and I like the image too.


A story of a many-layered world
one in which a pivotal passage
in the book takes place on an
airship.It took a while before I liked
the look of this cover,now I like it a
lot


Tunnels and hiding and identity
where my inspirations for
this cover. A character who can
change his appearance at will,
and a desperate supercomputer
on a collision course.
The book is a lot better than my description


With this cover I tried to convey
the notion that to really hurt
someone,you target the object of
their love.


The weakest cover
Planets and chords?
This cover had
me stumped from the start,and
I really should have just omitted
it from the final body of work


A week after I proposed my Honour's project, the author Ian Banks announced he had terminal cancer. Shortly after I completed this project he passed away. For what it's worth, I would like to dedicate this project to his memory.


Ed Allen.
June 2013


Friday 1 March 2013

Raymond Chandler Book Covers

As part of the Penguin Book cover Prize to create a paperback cover for Raymond Chandler's "The Big Sleep", I made covers for 4 of his books in an effort to 'bulk up' my portfolio.
Big Sleep cover

Farewell My Lovely cover

The High Window cover

The Long Goodbye cover

Ed Allen 2013


Saturday 15 December 2012

The Iron Man Part3 - Arms Legs,The Final Piece

The Iron Man

Once the torso and head were designed and built,it was time for limbs to be made. My intention was to stick with the"steam age" influence for his arms and legs,so connecting rods and simple hinges were the chosen forms.
 Fig 1. Torso with limb attachment bosses
 Fig 2. Digger style arms
Fig 3.Con-Rod thighs and piston calves

All the parts were Prototyped in Balsa foam from which Silicon rubber moulds were made,these were then filled with polyurethane casting resin to make the final pieces. the fore-arms and "digger" hands were made from plastic-card.
The Painting Process/Finishing

The figure was primed as 9 seperate parts Head,Torso,2 upper legs 2 lower legs 2 upper arms and 2 fore-arms with hands. At this point I discovered that Halfords brand primer does not like to adhere to Resin (it flaked off once dry!!) Therefore a specialist resin primer by Vallejo was used (after an extensive tooth-brushing of the cast parts first).Once the primer was dry,everything was sprayed a Mid-Dark Grey. At this point I embarked upon the dark art of weathering,adding dust rust and wear and tear to the figure,There is a Bi-Monthly magazine available devoted solely to this subject.

Fig 4. The Iron Man with rust,scratches and metallized highlights added.

Fig 5.  The hands received more extensive weathering. 

 I also realised I would need a companion for Mr Iron to give him scale and a little context,so a tiny Hogarth in Duffel-coat was made from Fimo and painted with acrylics.
The Iron Man. 
Complete with Battleship Chain "wings" on his back
His feet are supposed to look like Ingots of "pig" Iron.

So there it is! I hope you have enjoyed looking at the "build" progress and as always any comments or criticism's are welcome...

Ed Allen 2012 


Thursday 22 November 2012

The Iron Man. Part2 - Beginning construction

 Ok I said I would be going over RTV moulding and Resin casting..Well I decided just skim the subject coz it's..
A) More a technical discipline rather than an artistic endeavour.
B) There are resources on the internet where you can glean more/better info on this subject (just Google casting in resin).
The Masters(in grey)
and Casts(in white)

Assembled master and cast.
 Having decided I wanted to make my figure("Irons" from here on in) a pose-able figure, I would need multiple joints for hips,shoulders,knees and elbows(8 in total) the quickest and easiest way to do this was to make a "Master" and cast copies.Once a prototype hinge joint was made,it was split into its component parts and cast in RTV rubber,a pourable slow curing mould compound. Once the RTV had cured,Masters were cut from the mould. Polyurethane resin was used to make the joints I will use on "Irons" for speed and because the casts are single pour moulds they are also structurally stronger.
 I'm going to use a Bessemer furnace as a torso(see previous post),I decided to make a scale model of said furnace,and being a bit strapped for cash right now I rooted around the house for scrap(plastic) and any forms/shape that I thought would fit in with my design("Iron's" belly is a hangable Tent light,and his head is a base from a pencil sharpener). Necessity IS the mother of invention after all. 
The inspiration.
Rough Marquette Sans legs/arms. 

Torso and head construction.
The torso needs more work and lots of detail to be added before I feel satisfied,but watch this space as next time I will be making legs and arms for our hero..

Comment and criticism welcome :)
Ed Allen 2012

Tuesday 20 November 2012

The Iron Man. Part1 - Design

The Iron Man by Ted Hughes. A short story for children about a mysterious Iron giant roaming the English countryside,and a boy called Hogarth's fascination with said giant. A favourite book of mine when I was a child,that having re-read recently I still found charming now I'm a grown up.
 I decided I would construct an actual figure of the Iron Man in the style of an "action figure/collectable",this meant a character between 8 and 12" in height and painted to look like huge Iron/steel man.

I started by sketching various Iron men,not the muscles and spandex type of Marvel(TM) men but figures made of chunks of steel and scrap metal.
Random Iron Men


Bit more thoughtful Iron Men

After a little work with various solid forms I did what I should have done from the start,and researched Iron and steel properties and manufacture.
A Bessemer furnace(early means to make high quality steel)

The hay-days of steel and Iron were in the Victorian era,steam power,iron bridges,ships,trains,which led me to the Steve Jobs/Bill gates of engineering Isambard Kingdom Brunel.A real Iron Man!
I. K. B.
Which set me thinking
Behold! Furnace bellied Iron Man

I now KNEW I wanted a Victorian steam age feel to my figure. Now I needed to worry about construction,Will he stand up? can I make him pose-able? will my 2D designs look ok in 3D?
Hogarth and Iron Man.

Tune in tomorrow when I'll be ranting about RTV moulds and resin casting.

Comment and criticism welcomed
Ed Allen 2012

Friday 14 September 2012

You know what I did this summer?

 What I am posting today is a piece of work "evolution". From sketchbook roughs to finished piece. A process which many illustrators/creatives do not tend to divulge freely.
I have been reading Homers Odyssey over the summer,which begins with the sacking of Troy,If you are unfamiliar with the tale of the Trojan horse look here=>http://en.wikipedia.org/wiki/Trojan_Horse. This was where my initial inspiration ignited.
 The tale tells that,after besieging Troy for 10 years,the Greeks boarded their boats and seemingly set sail for home,leaving behind them,at the gates of Troy,a giant wooden horse. The Trojans dragged this apparent tribute within the walls of the citadel. Unfortunately for them,when night fell the Greek warriors hiding within,leapt out and took revenge on the inhabitants of Troy,murder,rape infanticide,desecration of holy sites,in-fact every war crime you might think of was perpetrated by the "Heroes of Greece" that night.
 On to the pictures..I started with the idea that any wood the Greeks could get would have to be salvaged from their own ships,and the wooden horse usually portrayed in art as a sculptural piece,would,I speculated, be made roughly from planks and nails.

Initial Horse thumbnails

My Initial designs for the horse look more dog or bull-like than "horsey".But I liked the many planks and nails appearance of the first sketches,so on I went...

My lovely horse(thanks Father Ted)

My next effort was more "designed" and horse-like.The reason the horse is kneeling and bowed is to give it an appearance of passivity or defeat. All the better to fool them cocksure Trojans. I felt I had a piece strong enough to work with. Following an extensive clean up in Corel Painter to remove the sketchbook crease-line and sharpen/redraw blurred elements of the scan,it was time to vectorise in Adobe Illustrator.

The Trojan Horse

 I used the "high detail illustration" preset from the live trace menu,then spent the next few days tweaking anchor points,once this was done I selected various Earthtone colours to fill in the myriad planks.
 In hindsight I should really have placed it within its own environment,to give it scale and an obvious context.

Ed  2012

All Images copyright Ed Allen 2012

Wednesday 18 April 2012

Can you say Pecha-Kucha? Character Development

Pecha Kucha is an informal fast paced presentation technique 20seconds on each slide 20 slides(or 10 in this case.I presented a series of slides on the development of characters for a children's book called "Sparky get's a friend" its about an bored old cat coping with a new kitten being thrust into his world by his owner.
The starting point.
Any journey starts with a single step or in this case with a blank page,the bane of my life,quick fill it with anything! Cats! Partially anatomically realistic cats,this didn't float my boat so a re-think was in order.

 Cat Re-work.
After taking a peek at Ali Grainey's Blog  http://www.drawarama.blogspot.co.uk/  I decided simplifying forms was the way to go,settling on a sausage shape for one character and a more rigid cone shape for the other.
personality and context.
Next I tried to breath some life and personality into my creations(in Frankenstylee) everything inhabits somewhere,even germs in a petri-dish have an environment.(context to you and me) I also started to figure out personalities and colours suited to each character too.
Environment and stuff.

"Sparky" re-design.
At this point,during a crit it was decided that Sparky needed to to be made to look more decrepit and old,to create more contrast to the kitten character,I floundered for a bit until one evening "Dads Army" was on the TV and BINGO!! Arthur Lowe fit perfectly with the character of old staid Sparky the cat.
More re-work and expressions too.
Now I felt I had 2 characters I liked to draw and could carry a story for me,from here on it was a matter of composition and making a "nice" series of drawings,oh and telling a story too.

What did I learn? 
Research research research!
Draw Draw Draw and when you think you've done enough draw some more!
Put your'e creations into their world,environment their interactions and (ahem)motivation.
Play with scale,colour,line qualities.
Google people who's work you admire in your chosen field of interest and see how they do it (thanks Simone Lia .http://www.guardian.co.uk/books/gallery/2011/aug/02/how-to-draw-bunnies-simone-lia and www.simonelia.com/).
Take advice and criticism wherever you can get it,(thanks to my tutors,Steve Wilkin and Chris Harper) take notes and mull them over at your leisure.


Ed Allen